When it comes to riding a scooter, finding the right handlebar height is crucial for a comfortable and safe experience. Whether you’re a beginner or an experienced rider, adjusting the handlebars to the correct height can greatly improve your control and stability on the scooter. In this article, we will explore the importance of scooter handlebar height adjustment and provide you with step-by-step instructions on how to do it.
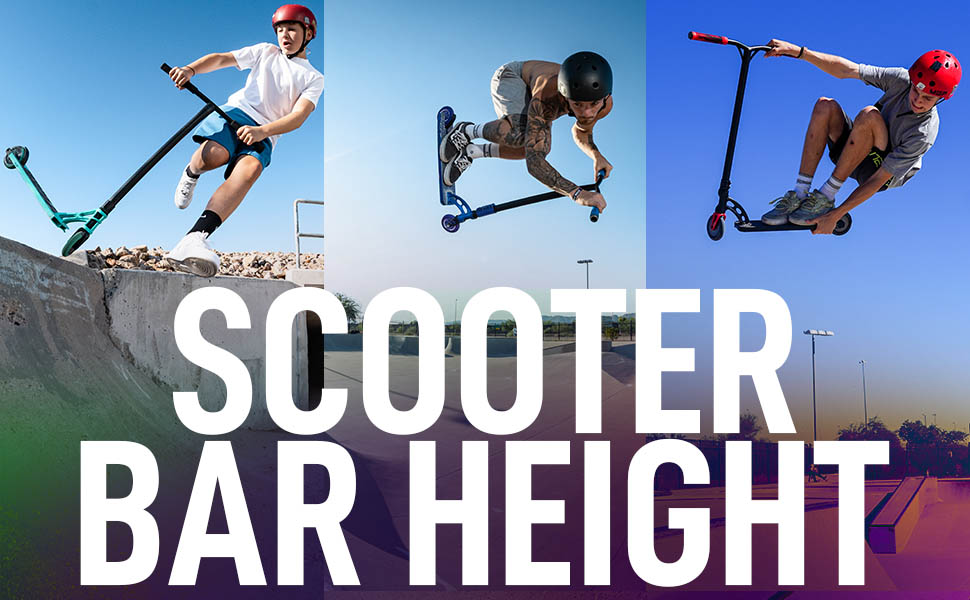
The Importance of Proper Handlebar Height
Having the correct handlebar height on your scooter is essential for a number of reasons:
- Comfort: Riding a scooter with handlebars that are too high or too low can lead to discomfort and fatigue. By adjusting the handlebar height to suit your body and riding style, you can ensure a more comfortable ride.
- Control: The right handlebar height allows for better control and maneuverability. It ensures that you have a proper grip and can easily steer the scooter in the desired direction.
- Stability: A well-adjusted handlebar height contributes to stability while riding. It helps distribute your weight evenly, preventing unwanted wobbling or imbalance.
- Safety: Riding a scooter with improperly adjusted handlebars can be hazardous. It may affect your ability to react quickly to unexpected situations, potentially leading to accidents.
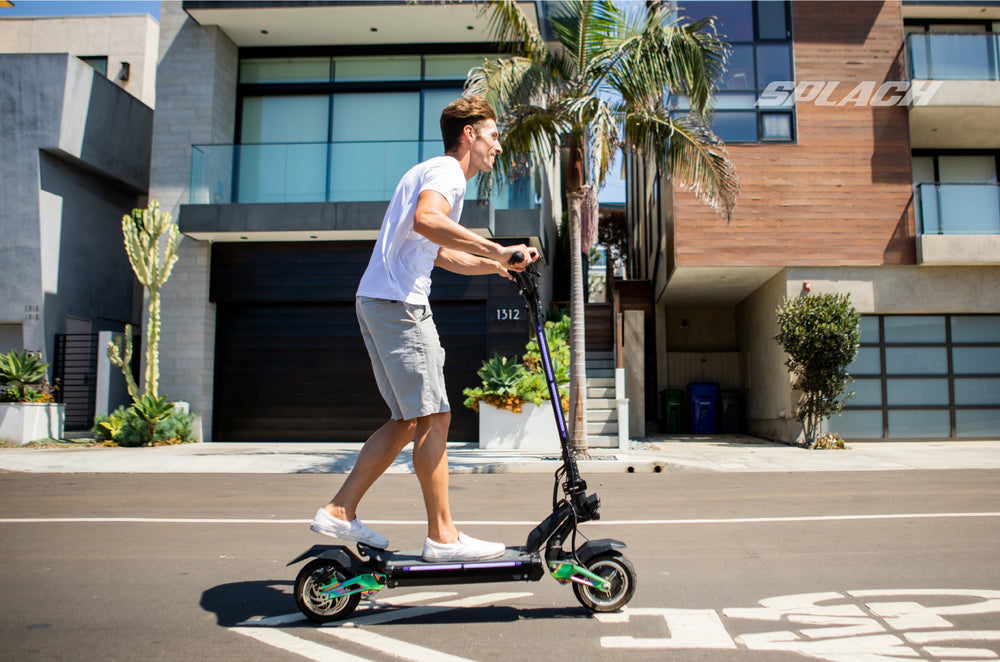
Credit: splach.bike
Step-by-Step Guide to Adjusting Scooter Handlebar Height
Adjusting the handlebar height on your scooter is a relatively simple process. Here’s a step-by-step guide to help you get started:
- Identify the Adjustment Mechanism: The method for adjusting the handlebar height may vary depending on the type and model of your scooter. Common adjustment mechanisms include clamps, bolts, or quick-release levers. Consult your scooter’s manual to locate the specific mechanism.
- Loosen the Mechanism: Use the appropriate tools to loosen the adjustment mechanism. This may involve turning a bolt counterclockwise, unscrewing a clamp, or releasing a lever. Ensure that the mechanism is loose enough to allow handlebar movement.
- Adjust the Height: With the adjustment mechanism loosened, you can now adjust the handlebar height. Gently raise or lower the handlebars to the desired position. Take into consideration your personal comfort, riding style, and the factors mentioned earlier.
- Secure the Mechanism: Once the handlebars are at the desired height, tighten the adjustment mechanism. Use your tools to ensure that it is securely fastened. Be careful not to overtighten, as this may damage the mechanism or restrict the handlebar movement.
- Test and Fine-Tune: Test the handlebar height by taking a short ride. Pay attention to your comfort, control, and overall riding experience. If necessary, make additional adjustments to achieve the optimal handlebar height.
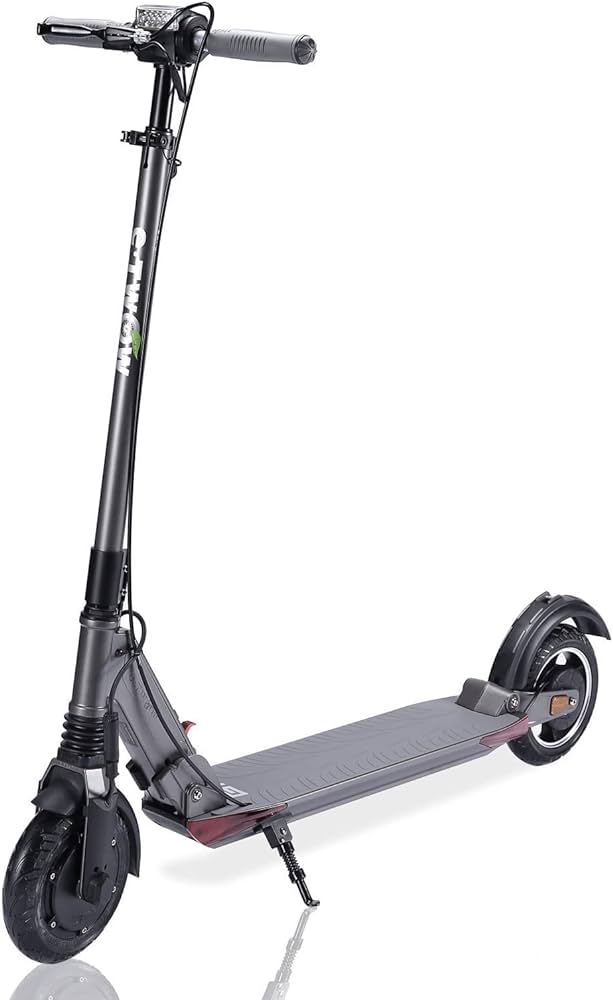
Credit: us.maddgear.com
Additional Tips for Handlebar Height Adjustment
Here are a few extra tips to keep in mind when adjusting the handlebar height on your scooter:
- Consider Your Riding Style: Different riding styles may require different handlebar heights. For example, if you prefer an upright posture, you may want the handlebars a bit higher. If you prefer a more aerodynamic position, lower the handlebars slightly.
- Ask for Assistance: If you’re unsure about adjusting the handlebar height yourself, don’t hesitate to seek assistance from a knowledgeable friend or visit a local scooter shop. They can provide guidance and ensure that the adjustment is performed correctly.
- Maintain Regular Checkups: It’s a good practice to periodically check the handlebar height and make adjustments as needed. Over time, the handlebars may shift or become loose, affecting your riding experience.
Remember, finding the perfect handlebar height is a personal preference, and it may take some trial and error to determine what works best for you. Take the time to experiment and make small adjustments until you find the most comfortable and suitable position.
By following these steps and considering the factors mentioned in this article, you’ll be able to adjust your scooter’s handlebar height to enhance your riding experience and ensure a safer journey. Happy scooting!
Frequently Asked Questions Of Scooter Handlebar Height Adjustment
What Is Scooter Handlebar Height Adjustment?
Scooter handlebar height adjustment refers to the ability to customize the height of the handlebars on a scooter, allowing riders to find the most comfortable and ergonomic position.
Why Should I Adjust The Handlebar Height On My Scooter?
Adjusting the handlebar height on your scooter can greatly improve your riding experience. It allows you to find the perfect position that suits your height, riding style, and comfort level, reducing the risk of strain or discomfort during long rides.
How Do I Know If The Handlebar Height Needs Adjusting?
If you find yourself experiencing discomfort or pain in your wrists, shoulders, or back while riding your scooter, it might be an indication that the handlebar height needs to be adjusted. Additionally, if you feel like you are reaching too far or too close to the handlebars, it’s a good idea to check if an adjustment is needed.
How Can I Adjust The Handlebar Height On My Scooter?
The process of adjusting the handlebar height may vary depending on the specific model of your scooter. However, most scooters have a clamp or bolt system that allows you to loosen and adjust the handlebar’s position. Refer to your scooter’s manual or contact the manufacturer for detailed instructions on how to make the adjustment.